Chapter 8:
Settings Regarding Cutting Time
This chapter describes the settings affecting the cutting time.
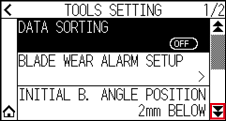
8.1 Sorting the Cutting Data
When sorting cutting/plotting data, cutting is performed collectively so that the amount of movement in the media feed direction and the tool replacement time are minimized, so cutting operation is improved efficiently.
This function sorts so that the amount of movement in the media feed direction is minimized, so it is effective for plotting data where the tool is raised to the cutting position and moves here and there.

• Sorting will start the process after all the data are stored in the buffer memory, so it takes time to start the cutting.
• Sorting might not be effective for the data that is created efficiently.
• Process may be faster to turn off the sorting on the plotter, if the data is already sorted using the software on the PC.
Operation
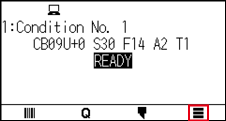
1. Press the [ ] icon.
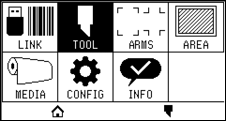
2. Press the [TOOL].
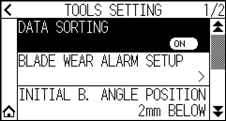
3. Press [DATA SORTING] to turn it to [ON].
To cancel, set it to [OFF].
4. Press the [ ] icon.
 It will return to HOME screen.
When the setting is turned ON, a [ ] mark will be displayed at the top of the screen.
8.2 Perform Automatic Pre Feed When Cut Data is Received
It is possible to feed and reverse the media automatically for specified amount when the plotter receives the cutting data.
"Pre feeding" to prevent the shifting of media can be done automatically.
Also, the media will be unrolled from the roll before cutting when rolled media is to be used.
• The setting for AUTO PRE FEED when cutting data is received is maintained even if the power is turned off.
• Setting of the AUTO PRE FEED length is not linked to the setting of the page length. Change the setting for the page length if the cutting area is to be long.
• If data is received and auto media transfer is performed once, even if (cut in the same area) data is received again, auto media transfer will not take place.
Operation
1. Press the [] icon.
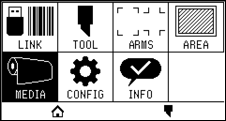
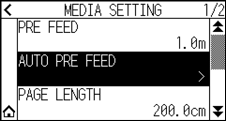
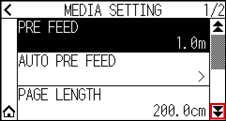
2. Press the [MEDIA].
3. Press the [AUTO PRE FEED].
4. Press [ENABLE FUNCTION] to turn it to [ON].
To cancel, set it to [OFF].
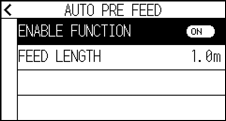
5. Press the [FEED LENGTH].
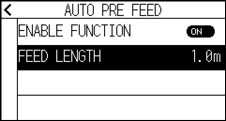
6. Specify the setting value using the [ ] [
] [ ] icon or the [
 ] icon.
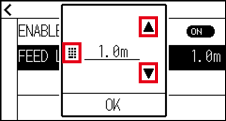
• You can set the range between 0.5 m and 50.0 m.
• Feed length can be set in 0.1 m units.
7. Confirm the setting and press the [OK].
8. Press the [ ] icon.
9. Press the [] icon.
It will return to HOME screen.
When the setting is turned ON, a [ ] mark will be displayed at the top of the screen.
8.3 Setting Feed Speed for Pre Feed
Set the speed of media feed such as the feed (media carry) of auto media of received cut/plotting data.
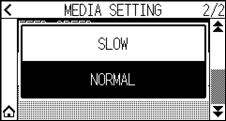
Set the feed speed to "SLOW" if the media shifts during the Pre Feed when the heavy or slippery media is to be used. It is normally set to "NORMAL".
This setting will be saved even if the power is shut off.
Operation
1. Press the [] icon.
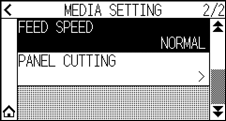
2. Press the [MEDIA].
3. Press the [ ] icon.
4. Press the [FEED SPEED].
5. Press the feeding speed you want to use.
6. Press the [] icon.
It will return to HOME screen.
8.4 Setting the Moving Speed
Moving speed is the speed the tool moves when it is raised (tool up state).
The cutting time in total becomes short if you set the MOVING SPEED to fast speed even though the speed of the tool when it is cutting (lowered) is set to slow speed for the hard to cut media (hard or sticky).
This setting will be saved even if the power is shut off.
Operation
1. Press the [] icon.
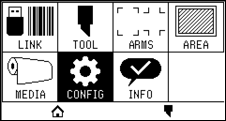
2. Press the [CONFIG].
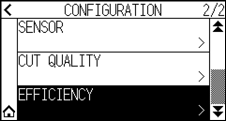
3. Press the [] icon.
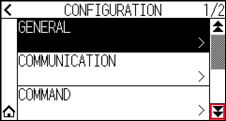
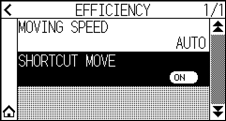
4. Press the [EFFICIENCY].
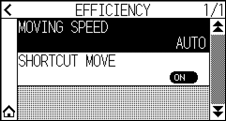
5. Press the [MOVING SPEED].
6. Use the [] and [ ] icons to display the [MOVING SPEED] to be used.
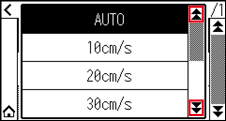
• You can set to AUTO, 10 cm/s, 20 cm/s, 30 cm/s, 40 cm/s, 50 cm/s or 60 cm/s.
• It will be same speed as tool is lowered when AUTO is selected.
7. Press the moving speed you want to use.
8. Press the [] icon.
It will return to HOME screen.
8.5 Setting the Shortcut Move
When the plotter received coordinate information for moving with the tool up is continuously from a computer connected, you can set whether to move to each coordinate in turn or move directly to the final coordinate using the "SHORTCUT MOVE".
There are following 2 settings for "SHORTCUT MOVE".
OFF: If several coordinates are received continuously, it will move to each in order it is received.
ON: If several coordinates are received continuously, it will directly move to the last coordinate received.
Cutting/plotting time can be reduced if it is set to "ON", if the time to move the tool in raised status is wasteful.
This setting will be saved even if the power is shut off.
Operation
1. Press the [] icon.
2. Press the [CONFIG].
3. Press the [] icon.
4. Press the [EFFICIENCY].
5. Press [SHORTCUT MOVE] to turn it to [ON].
To cancel, set it to [OFF].
6. Press the [] icon.
It will return to HOME screen.
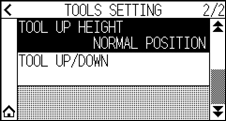
8.6 Setting the Tool Up Height
The TOOL UP HEIGHT is the height of the tool position when the tool is raised.
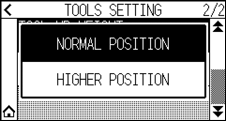
Set to "HIGHER POSITION" if the media is thick. Usually, set to the "NORMAL POSITION".
This setting will be saved even if the power is shut off.
Operation
1. Press the [] icon.
2. Press the [TOOL].
3. Press the [] icon.
4. Press the [TOOL UP HEIGHT].
5. Press the tool up height you want to use.
6. Press the [] icon.
It will return to HOME screen.